Load Jupyter Session
In the previous article, Start Jupyter Notebook, you saw how to start your Anaconda session on Ubuntu using the Activities menu, then invoke a new Jupyter Notebook using the shell.
Once the new Jupyter Notebook loads, the Main UI looks like this:
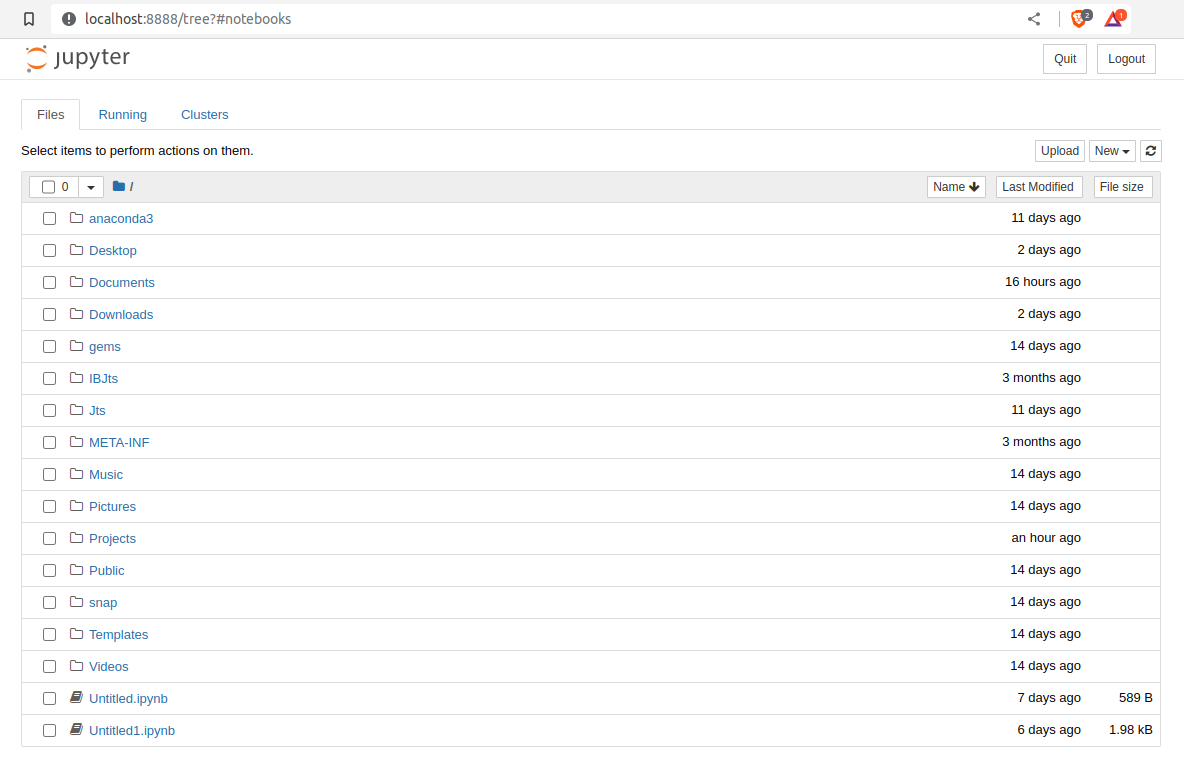
The default view is of the FILES view, with sub-views available of:
- Running
- Clusters
In the top right, you will note the QUIT and LOGOUT buttons, that do exactly as labelled.
Just below LOGOUT, you will see:
If you select NEW, there will be a further 4 options:
- Python 3 (ipykernel)
- Text File
- Folder
- Terminal
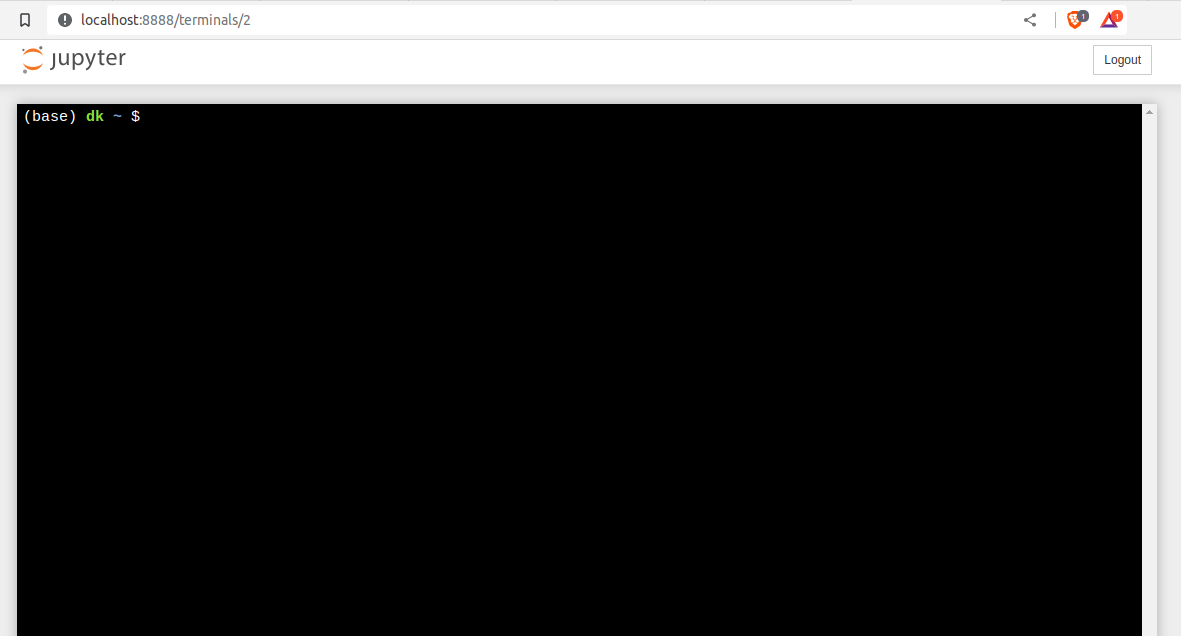
Let’s select New > Terminal first, which will load a Terminal via the web browser located:
http://localhost:8888/terminals/2
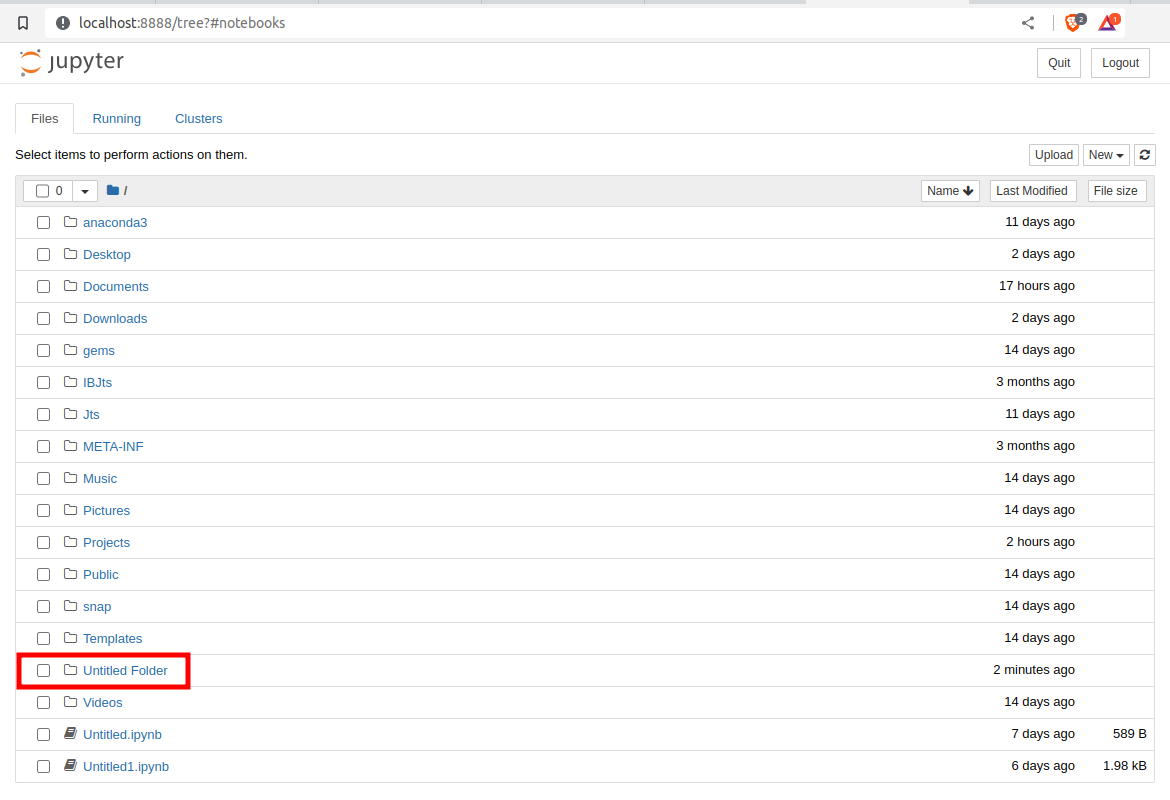
Next, lets select New > Folder, which will create a new folder in the current directory which is /home/dk, and the folder will be titled ‘Untitled Folder.’
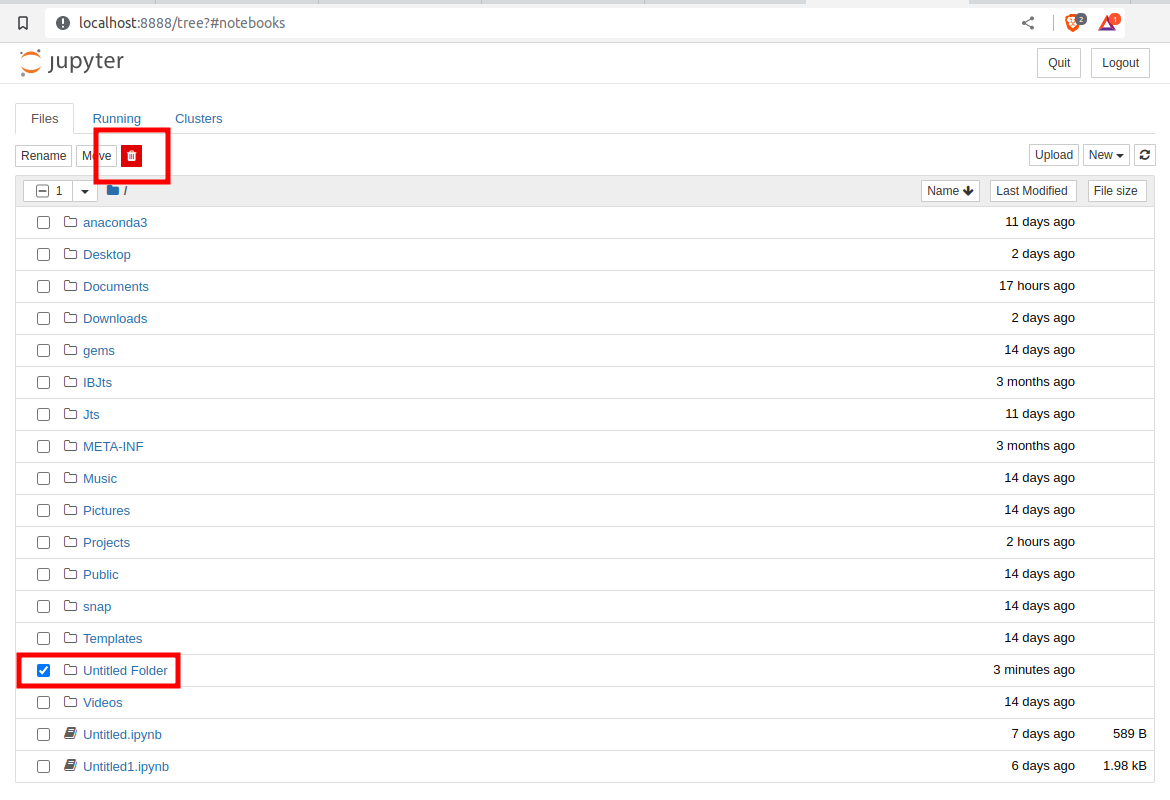
Lets delete that folder, by using the left hand select button next to ‘Untitled Folder’ and then selecting the Trash Can item up in the directory overview.
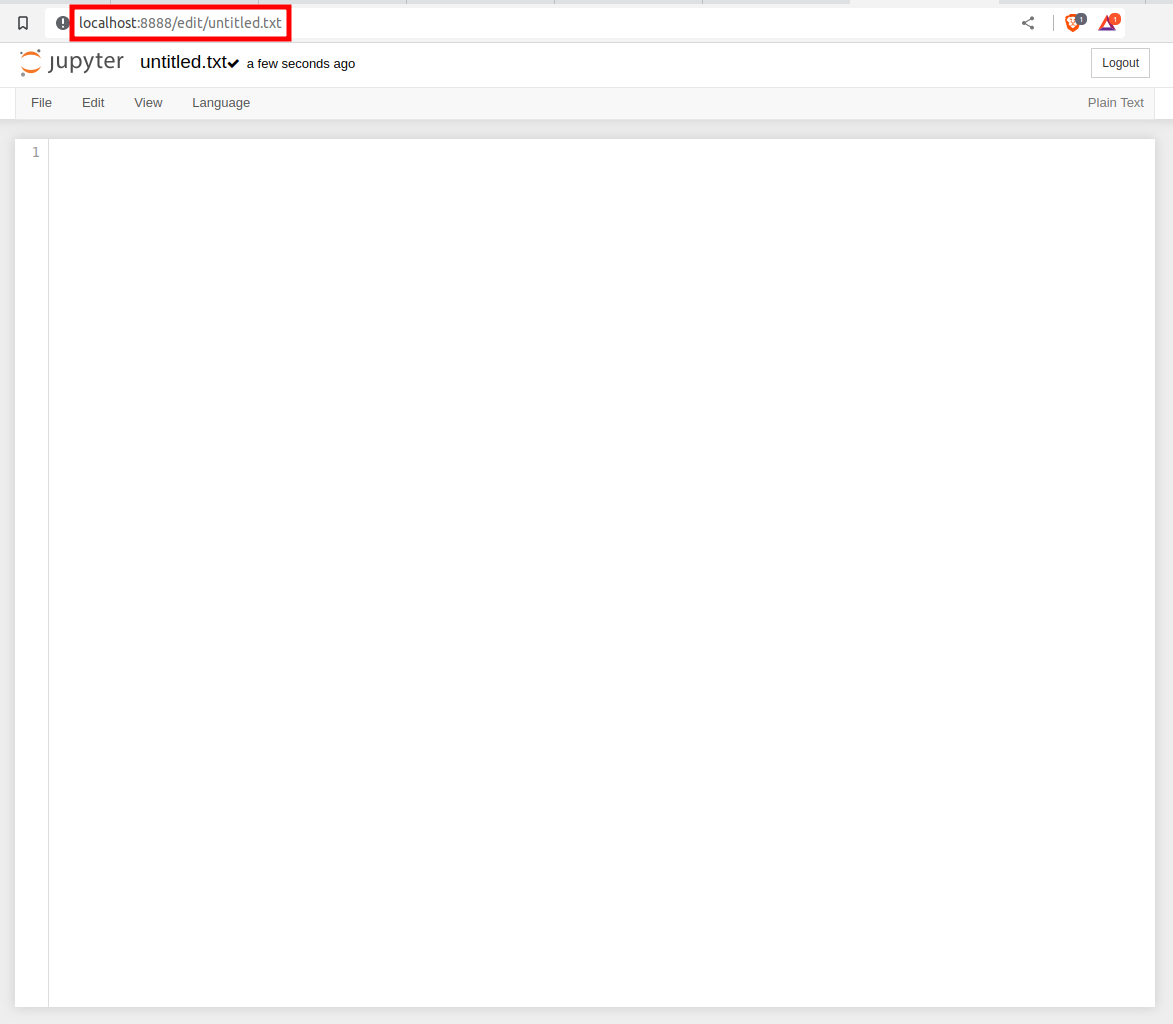
Lets select New > Text File, which will load a Text file, titled ‘untitled.txt’ via the web browser located:
http://localhost:8888/edit/untitled.txt
Finally, lets select New > Python 3 (ipykernel), which load a new Python 3 (ipykernel) session via the web browser, located:
http://localhost:8888/notebooks/Untitled2.ipynb?kernel_name=python3

The Jupyter Notebook allows a great deal of flexibility and power from the Desktop using a web browser.
For further information, refer to the Jupyter/IPython Notebook Quick Start Guide.
Good luck, and have fun!
References: